After the epic drive home, it was time to get down to work. I put it up on my lift and went through it from top to bottom. Surprisingly my initial to-do list was quite a bit shorter than usual. Despite it's rebuilt title, it truly was a lot better sorted than several of the other lower mileage Project Coupes had been on arrival. There wasn't much of anything "broken", this would be more of a refresh than a repair.
It all started when I noticed the original rear shocks were probably due to be replaced. I didn't really notice anything negative on our several thousand mile drive home, but they did have over 90k miles on them. I had a lightly used set of Koni Sports with H&R springs in my attic that came with a previous Project Coupe. My wheels started turning. What good would a lowered suspension be with loose, original rear subframe bushings? I love the polyurethane subframe bushings in my coupe paired with the very similar TC Kline suspension. I hadn't tackled the subframe bushing job solo before, but now I had a lift to work with along with a hand-me-down homemade bushing tool. It was time to figure it out.
I first read every do-it-yourself guide I could find. This post was the one I found most helpful overall. Everyone online said it, but I didn't really believe it. It truly is fairly easy to drop the rear subframe. The only issue I had was getting the bushings fully off the studs. The trick I found was making sure the subframe and bushings were straight up and down before pulling them down off the studs. I didn't disconnect the driveshaft from the differential or remove the exhaust with this method, so the subframe tended to rotate towards the rear as it came down. I used a 4x4 on a jack to help align it.
Once that was figured out, it was time to attack the bushings themselves. Using the homemade tool was fairly straightforward. I was initially under the impression that I would want a large washer on top of the bushing to push it out, but I found a small one was far more effective. Using the small washer on top pulls the middle way down into the bushing. I was worried the center would rip out, but I followed the Randy Forbes method of doing a couple turns of the tool then waiting a minute to let the rubber stretch. By stretching the bushing like this, it effectively narrows it and makes it easier to remove. All the while I was also heating the subframe around the bushing with my wife's crafting embellishment heat gun. My only issue at this point was that I didn't follow the instructions to continue oiling the threaded rod. About halfway through the second bushing the threads stripped. I found a replacement at Ace Hardware, and they were kind enough to cut it to size for me. I oiled the new one very well and quickly extracted the second bushing. The more firm (and two piece) polyurethane bushings were far easier to insert than the stock rubber ones to remove. I used a tip I saw online to put the top half of the bushing on the stud, then raised the subframe onto it in order to insert and align.
Before I reinstalled the subframe though, I thought what else could I do while everything is apart? First, I did a very thorough diff mount and trunk floor examination, and it looked perfect. I then decided I'd try my hand at trailing arm bushings since they were right there. They were still a pain with trial-and-error home made tool configuration, but I eventually succeeded. I went with OEM rubber bushings for those as I've heard the poly ones can get pretty squeaky. I also replace the rear sway bar stabilizer links that showed some wear with new OEM.
Thankfully when trading out the rear shocks, I found that the previous owner had installed Rogue Engineering rear shock mounts (RSMs). They are designed with downward facing studs, so I didn't have to disassemble the whole rear hatch for a change. Phew!
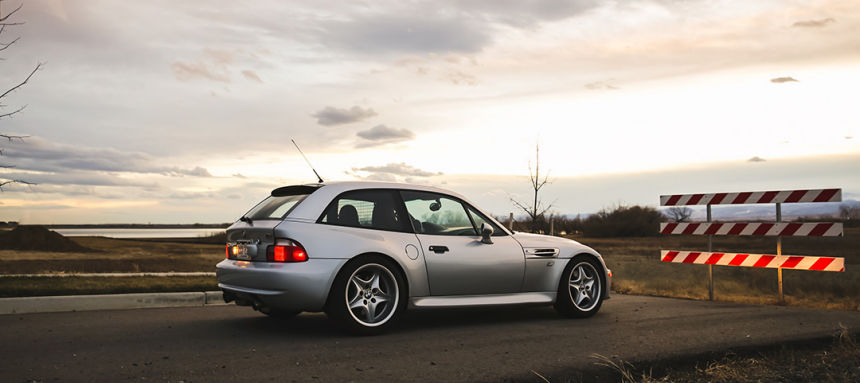
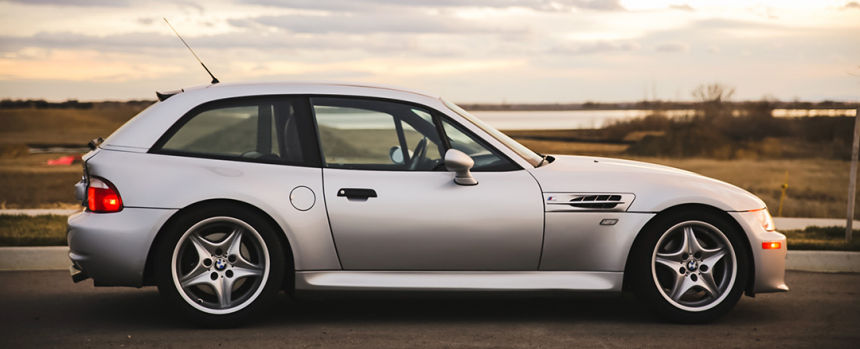
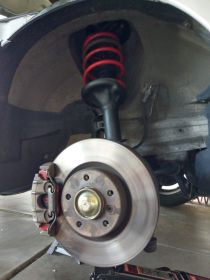 I then moved up to the front. The Koni front shocks already had the top hats installed, so the swap was quick and easy. While the wheels were off, I also replaced the front brakes as the rears had already been done recently. The H&R Sport springs gave it a pretty perfect drop. They are slightly lower than I have my TC Kline coilovers set, but it's still far from "slammed". I loved the new look (in profile). The wheels looked a little sunken from the 3/4 angles though. It needed some wheel spacers (I ended up with 12mm front, 15mm rear). A quick drive proved greatly improved handling, but the steering felt a little sloppy compared to the now tight rear suspension. That is usually the fault of the control arm bushings. I highly recommend buying them already pressed into the "lollipops". Then it's just a matter pressing the bushing onto the stud of the control arm and two bolts. After that I felt the handling was perfect.
Aside from the usual jobs like replacing faded badges (Never Done stickers!), door handle gaskets, and seat bushings (Thayer Motorsports) as well as fixing the cloudy rear view mirror and sagging glovebox, it was mostly business as usual. The only other bigger job was replacing the flex disc (giubo) which I found a great guide for here. One quick tip for replacing light bulbs or gauges in the center console. The Bentley manual says you have to remove the whole center console, other guides say you can remove the radio and reach through the opening, but I found it far, far easier to remove the glovebox and reach in from the side. I had no issues at all.
This article makes it sound like this all happened over a couple weekends, but remember that I had this coupe for almost a year and a half. It was probably a several month process overall with lots of little things in between. It will be far quicker and easier the next time though as I'm finding out with the new Project Coupe.
One other twist on this project was that I connected with the eventual buyer months before it was ready to sell. This gave him the opportunity to have me do some customizations which I loved. As you could guess, I have a pretty good parts collection after having had so many coupes come through my house. He picked out some of my choice parts like a Dinan exhaust and Strong Strut bars for me to install. In the future, if you see a Project Coupe you like, feel free to get involved early and I can help make it the perfect coupe for you.
The final question to answer is my thoughts on coupes with salvage titles. All situations are different, but I definitely wouldn't let a piece of paper turn you off from a car. This one happened to be in better condition than some of the clean titled coupes I've had, even those with far fewer miles. The paint was not perfect and I couldn't get one of the panels aligned perfectly, but I think overall that fact made me like it even more. I could happily drive it places I wouldn't bring my low mileage S54 coupe. With it already having some non-original paint I could think, "the worst that could happen is I paint it again". It let me happily drive it more often and to more places rather than always worrying about other idiots on the road or parking lots. That freedom and lack of stress just added to the overall enjoyment. If you plan to keep your coupe for a while, I say go for a salvage title (after inspection). You just have to realize it could be a harder resale later and it won't appreciate as much as clean titled coupes.
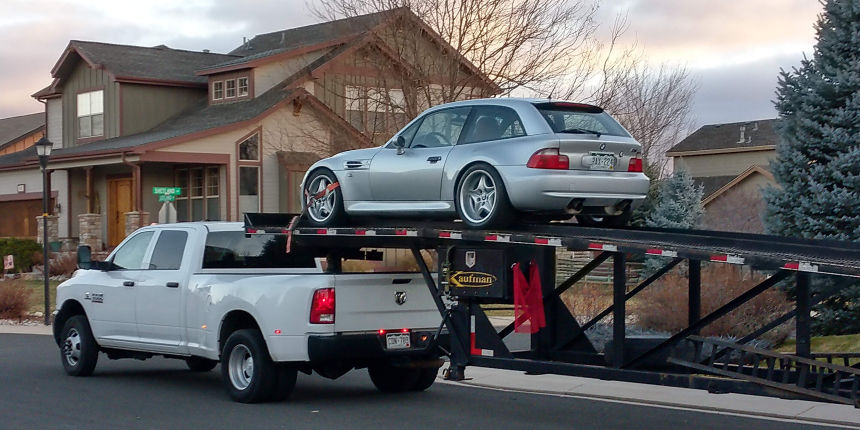
LC61892 left on a truck this morning, and I honestly felt a little sad. I had seen it come a long ways and transformed into my idea of a perfect driver M Coupe. The only consolation is where it's headed. The buyer is coming back to the Coupe Cartel after previously selling us his old coupe before a move. Welcome back Bill!