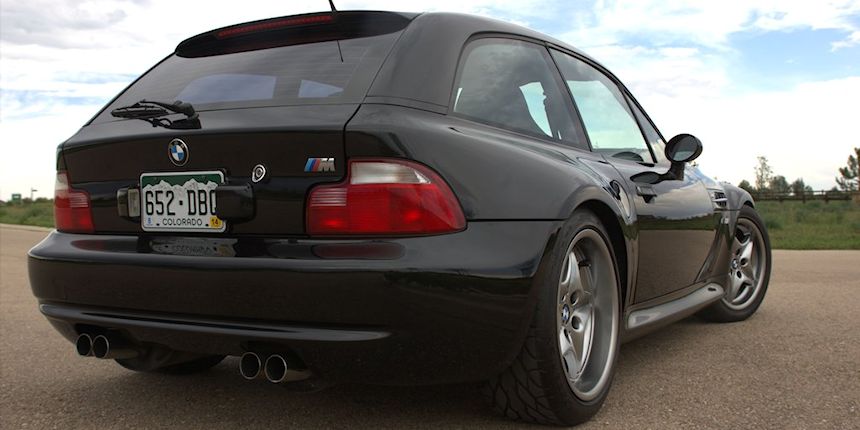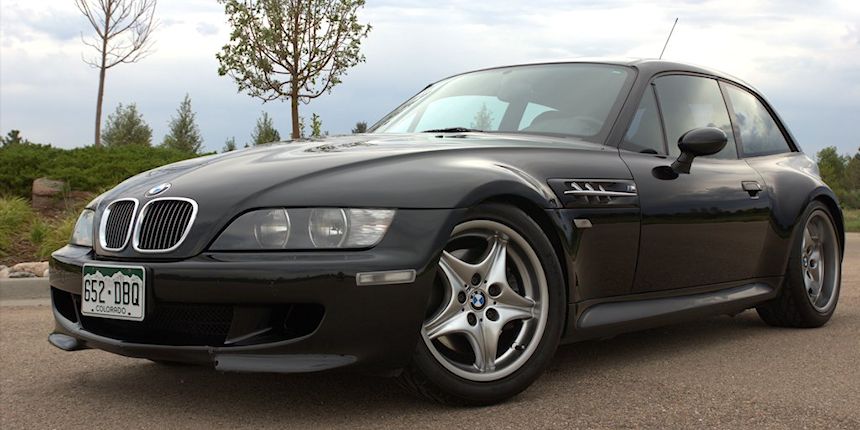
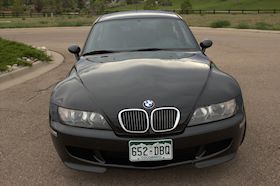
As most probably remember, I talked my dad into buying an S54 M Coupe last summer (I'm sure he knew it would happen eventually). It turned out to be in much better shape than we even hoped with the biggest surprise being the TC Kline D/A coilovers and camber plates with a later discovery of IE subframe bushings. Yep, we sort of won the unknowing Toyota dealership lottery. At 72,000 miles, it was not perfect however, and I've been working over the last 9 months to make all the needed corrections to make it feel as much like my coupe as possible.
Unfortunately I did not document my projects very well as I know I promised to do in the first article. I decided to share them here though in case they can point you in the right direction. If I'm not clear enough without photos, feel free to email me for a better explanation. The photos in the article were taken last fall after a good detail, but before anything below had been done (besides the rearview mirror).
Job number one turned out to be a bubbled auto-dimming rearview mirror. It was kind of like deja vu with my coupe. This time I knew exactly what needed to be done and immediately sent the mirror off to Sybesma's Electronics for repair. It came back as good as new.
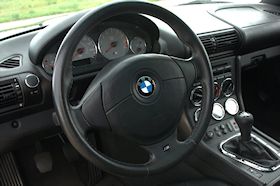 Next up was the replacement of some scuffed and missing interior trim pieces. The one that bothered me most was the plastic surround to the hazard light button (Part Number 51167890015). There was a little chip on the front of it and for some reason it always caught my eye when i sat down in the car. It's a ridiculously thin and brittle piece of plastic that crumbled to pieces when I tried to remove the original. It simply snaps in and out, but it's safe to say it's a one use part. I very carefully snapped in the new one and life was good.
Next was a missing button blank from the rear of the center console. Out of curiosity I shined a flashlight down into the hole and thought I could see the missing blank down at the bottom. I spent the next hour trying to fish it out with a wooden dowel with duct tape wrapped around it's end (sticky side out). Amazingly my attempts were successful only to discover the small clips on the back of the blank were broken off. I gingerly placed it in it's spot, so it would no longer bother me until it could be replaced. Unfortunately my five year-old later touched it while going on a ride, and it's once again lost in the hole. I checked RealOEM.com for the part number and ordered a new one. You know what I learned? The three button blanks are not all the same size; the outside ones are a little wider than the center one (go look, it's true). So then I ordered the correct one. Make a note: center blank: 51168400712, outside blanks: 51162492136.
The first time I drove my dad's coupe, two things immediately bothered my left foot. First, the clutch pedal went to the floor. Second, when resting my foot on the dead pedal, it also seemed to go to the floor. When we got back to my house after my first drive, I noticed the missing clutch stop and a crack in the trim panel that runs along the left side of the driver footwell and includes the dead pedal. The clutch stop - for the first time ever, I was surprised in a good way by a BMW part price, and bought a new clutch stop at the dealer for just $0.95. When I went to screw it in, I realized why the previous owner had not simply replaced the $1 part. The old one had broken off flush with the stem and would not be easily removed. I tried a few of my own ideas before Googling and discovering the suggestion to put super glue on a screw, screw it into the plastic of the old clutch stop, let it set for about an hour, then remove both. It worked! Installing the new clutch stop was as easy as screwing it in and adjusting it to comfort.
Replacing the dead pedal trim panel (51438399853) initially seemed like it could be an annoying job, but it turned out to be fairly straight forward. The only other panel in the way is the under panel above the pedals which is attached by three plastic 1/4 turn buttons. The trim panel itself is held on by a couple slotted clips, the hood release lever and one screw. Once the old one was removed, I found a small pile of rocks that had fallen through the crack over the years. I took the chance while the panel was out to thoroughly clean out behind it as well as the rest of the driver footwell. The only tricky part when installing the new one was making sure I had all the clips aligned properly but I eventually got it. I realized afterward that a nice firm dead pedal is a much bigger part of the driving experience than I anticipated.
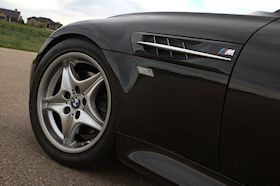 Now for the big job. Some probably noticed in the photo I posted in the first article that my dad's coilovers were set very low, very very low. They were also very firm. It also took away a lot from the driving experience. Not only was it bumpy and uncomfortable, but the wheels tended to loose grip earlier in corners because it had no give and it rattled the interior on bumpy roads. Since my coupe has the same TC Kline D/A coilover suspension, I know how comfortable these coilovers can be when set to proper street height and settings. I enlisted Colby over his spring break to help me raise them up about 3/4". We started with the rears. We removed the wheels, disconnected the 18mm bolt holding the bottom or the rear shock to take all spring pressure off the height adjuster, then turned the height adjuster up by hand. Everything went pretty smoothly.
Then we started on the front. The front coilovers have two collars below the spring: a large top collar and a smaller bottom collar to lock up against it. We were able to loosen the small bottom collars, but the top collars would not budge. I'm pretty sure they had not been adjusted since installation. I researched and experimented over the course of a week trying lots of PB Blaster, cleaning the threads with wire brushes, heating up the aluminum collars, and using various tools and combinations of tools with very little progress. I then had the enlightened idea to ask Z3 Guru, Mr. Randy Forbes, what he would recommend. He was gracious enough to share his secret with me. He recommended heating up the collar and threads enough to melt candle wax, letting the wax work into the threads behind the collar to lubricate them and clean them out. If you can keep the collar warm, the wax will remain liquefied behind it and do its work. And work it did. Please note: don't overheat the bodies of the struts, it's dangerous. I just used my wife's crafting heat gun, and it put out plenty of heat for the job.
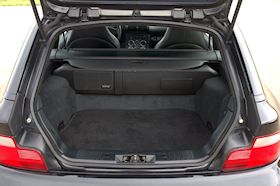 So how did it drive after adjustment? Just like my coupe, which I think rides better than stock along with much better cornering. I personally think it looks more aggressive now rather than just "slammed". Most of the rattles went away too. The one remaining rattle was coming from the panel on the rear hatch. I could see that the previous owner had tried to fix it with some padded adhesive strips, but they were not sufficient. I could manually move the panel and create the rattling noise by hand. I proceeded to remove the panel (held on by 9 clips if I remember correctly). Once removed, I noticed one of the clips was broken. I happened to have a bag of spare clips for when I get around to removing my door panels to replace the window sliders (search "BMW door clips" on Ebay, they're cheap). I replaced the broken clip, removed all the adhesive strips the previous owner had put on (a lot), and clipped the panel back to the hatch. It felt like it was tight against the hatch once again, but I took a test drive to verify. Success!
The final two projects will be repainting the front bumper and looking into seat bolster refinishing. I'll highlight those in a future article.
So why am I writing the article now? My parents are most likely moving soon, and have decided to put their coupe back on the market this spring. I've gone through it bringing it to my personal standards much like the M Coupe Buyers Guide Project Coupes. Shoot me an email if you may be interested.